Okay, I’m back! Sorry for the delay, my job got super-crazy there for a month or so. It hasn’t really let up too much, but it’s enough that I was able to get a little bit done. However, nothing really to show for it, I’m afraid.
But, I do have SOMETHING interesting: a look into the HUD design process. This work was done almost a month ago, but I haven’t had time to even sit down and write this entry until now.
Necessary elements
There are a few elements that are necessary on the in-game HUD:
- Player name – Especially important in two-player mode, having both players’ names on-screen will help to differentiate which statistics belong to which player
- Lives – Also very important is the number of lives that a player has.
- Score – Points. Very important.
- Weapon Charge – You’ll acquire weapons charge throughout the course of the game, which you’ll be able to spend to temporarily upgrade your weapons. This meter will show you how much charge you have. I chose to represent this with a blue bar.
- Secret Charge – I’m not quite ready to divulge this little gem, but this meter only fills up when the blue (weapon charge) meter is completely full. I chose yellow for this one.
(Mockups of the design process below the fold)
This previous weekend, I was able to accomplish another major milestone in game development: The Scrolling Background ™ © ® (BBQ).
Here it is: another late-week journal update that pretty much chronicles my weekend accomplishments, only later.
But First, Beams!
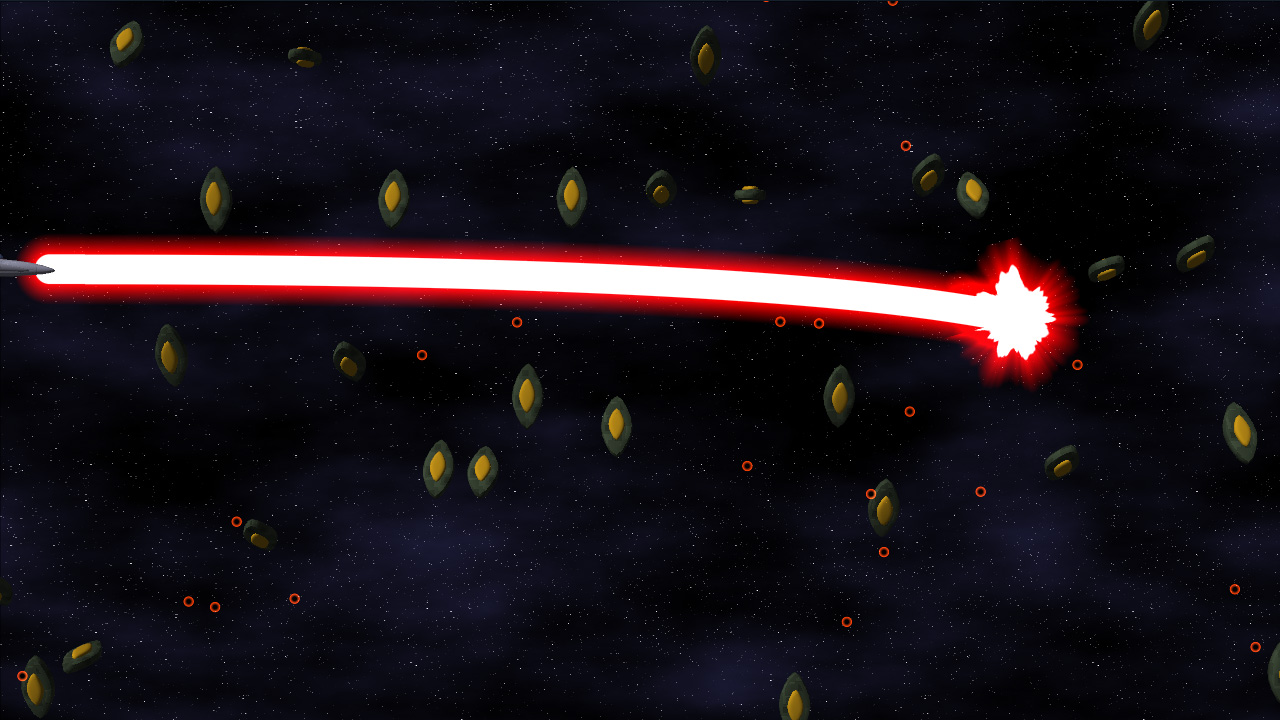
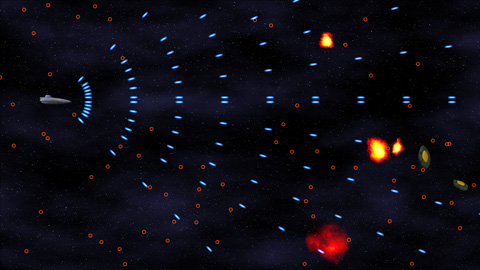
First up, here’s a preview of the powered-up version of the final main weapon for the project:
The beam itself actually locks on to targets and continually damages them. Implementation-wise, it’s a quadratic bezier. Initially, I tried to calculate the intersection of a quadratic-bezier-swept sphere (i.e. a thick bezier curve) and a bounding sphere exactly. That’s all great, only it becomes a quartic equation (ax^4 + bx^3 + cx^2 + dx + e == 0), which is ridiculously difficult to compute programmatically (just check the javascript source on this page to see what I mean). So I opted for another solution:
I divided the curve up into a bunch of line segments, treated those segments as sphere-capped cylinders (capsules), and did much simpler intersection tests. PROBLEM SOLVED!
When Is Deferred Shading Not Deferred Shading?
I also implemented Light Pre-Pass Rendering, which is sort of a “Low-Calorie Deferred Shading” that Wolfgang Engel devised recently. Considering my original plan for lighting was to only allow right around 3 lights on-screen at a time, this gives me a much greater range of functionality. It’s a three-step process, as illustrated below.
It’s been tricky to make much progress these last couple weeks – having a (non-gaming) coding job and being able to come home and work gets tricky, so a large majority of my game coding time is weekend time. Also, couple some deadlines at work, and you’ve got a large case of “I don’t want to code when I hit home.”
However: I did make a good deal of progress these last few weeks.
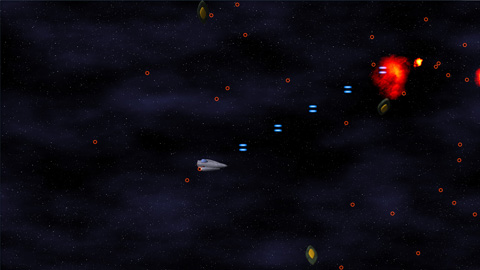
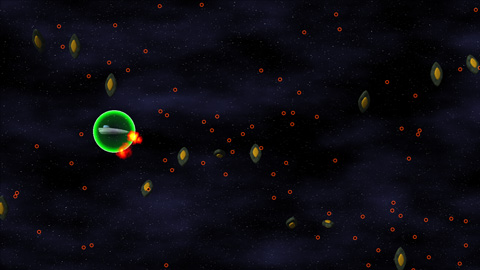
If you look at the screenshot in my last entry, it should be plain exactly HOW MUCH. Suddenly, my little experiment looks considerably like a GAME.
I haven’t had nearly as much time to get stuff done at home as I’d like, as work has been a bit of a scramble recently. Working ridiculously hard at a code-related day job and then coming home and trying to code is…difficult. And recently, highly unsuccessful.
However, this last weekend I was able to get a few things done.
Silos Are Not Just For Grain and Missiles
First up, I decided to check out Nevercenter Silo, a 3D modeling program that I swear has to be the easiest-to-use modeling software I have ever SEEN. For some reason, this software just completely clicks with me.
Maybe it’s that it allows me to start with something as simple as a box and push/pull/extrude/warp/etc it slowly into the shape that I want, or maybe it’s that it has built-in support for symmetrical modeling (you basically model HALF of a model and the other half changes shape along with it). It’s hard to say. However, it feels more like sitting down with clay and slowly morphing it into the shape that I want vs. the usually-cumbersome task of modeling a 3D mesh.
It’s done! Finally, after over a year since its completion, Mop of Destiny gets its own webpage!
I had a really difficult time trying to figure out what the webpage should even look like, so I just kept putting it off, until last night when I was almost asleep, I had that “eureka!” moment immediately before dozing off. Luckily, I remembered my idea in the morning!
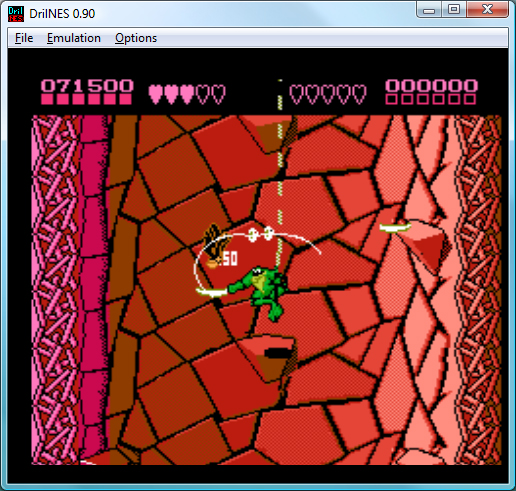
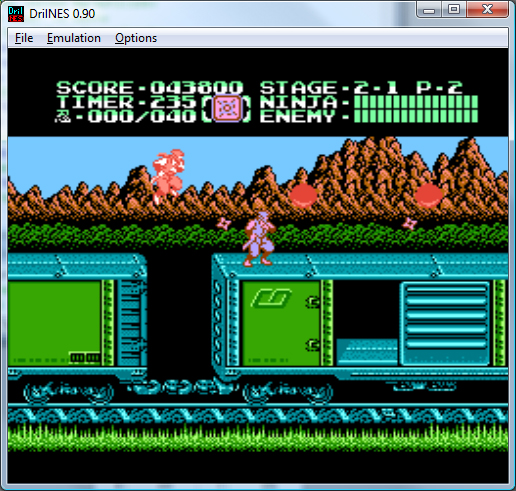
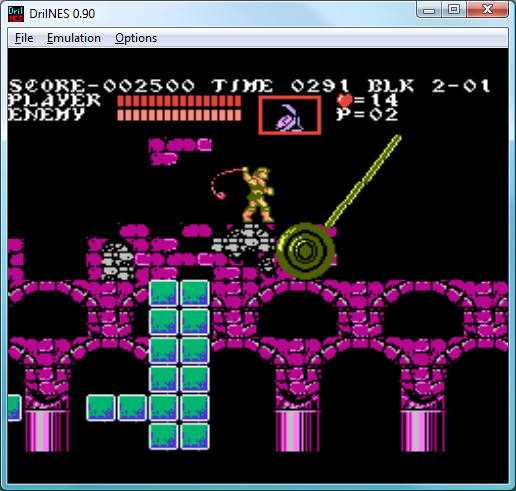
Also DrilNES 1.10 is released. I fixed up a few very minor emulation issues, added support for all of the 6502’s “undocumented” opcodes (i.e. the opcodes that just happen to work even though they’re really not supposed to), and modified the display a bit.
Now you can even make it look like a crappy old TV, if you choose! For, uh…nostalgia’s sake.
Enjoy!
HERE COMES A NEW CHALLENGER!
Inspired by Scet’s Tub of Awesome, I opted to continue work on my old emulator, DrilNES.
And here it is! DrilNES in all its glory! Note that it does not support PAL NES timing, it only runs NTSC games (so US and Japanese games only).
A Brief History of the World
I first attempted to tackle NES emulation back in 1999. I had the goal of getting three games to be playable: Castlevania 3, Startropics, and Crystalis. Turns out, these three games are some of the harder games to emulate, due to the tricky nature of the cartridge hardware that they run on. However well it ran at the time, it was woefully inaccurate, and this bothered me. In mid-2004, I apparently decided to try again.
No real dev updates. I’m still working on the behind-the scenes stuff. I got a bit bogged down with the asset management – turns out, handling on-the-fly asset streaming on the 360 using XNA is a tricky proposition, due to the garbage collection (which triggers every megabyte or so of allocation, grinding everything to a halt if your heap is too complex) and the XNA content management system (you can’t dynamically unload any given individual component – it’s all or nothing).
Because it’s been rather frustrating, I didn’t feel like coding tonight.
Instead, I did some image editing based on a dumb idea I had.
That’s all.
I’ve gotten less done recently that I would have liked, due to a lack of time to sit down at my computer. However, I did implement tiling perlin noise in-shader.
It uses the same basic technique as I used to set up the tiling noise (so you can read it in one of my earlier posts).
Basically, I can generate perlin noise that tiles at any given (integer) position.
Quite handy for generating tiling textures (because not everything I’m generating needs to be 3d)
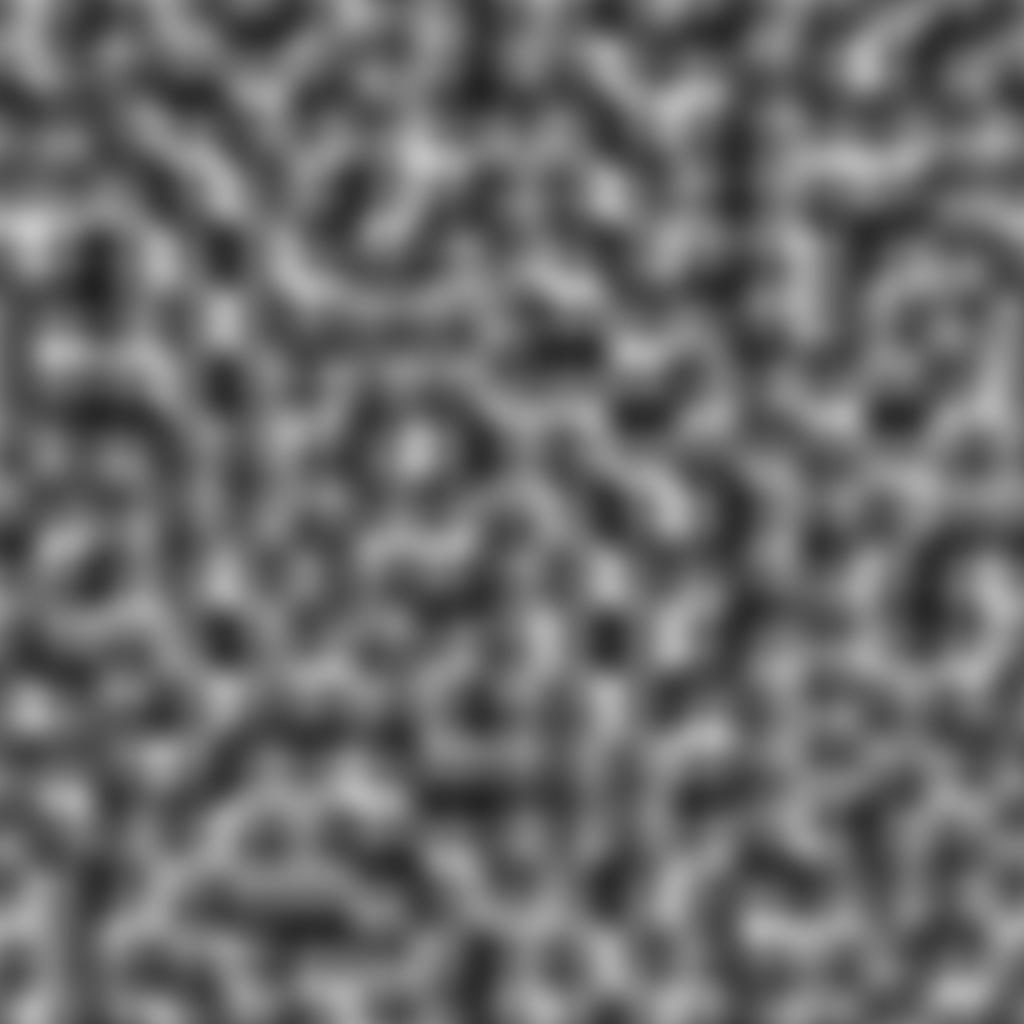
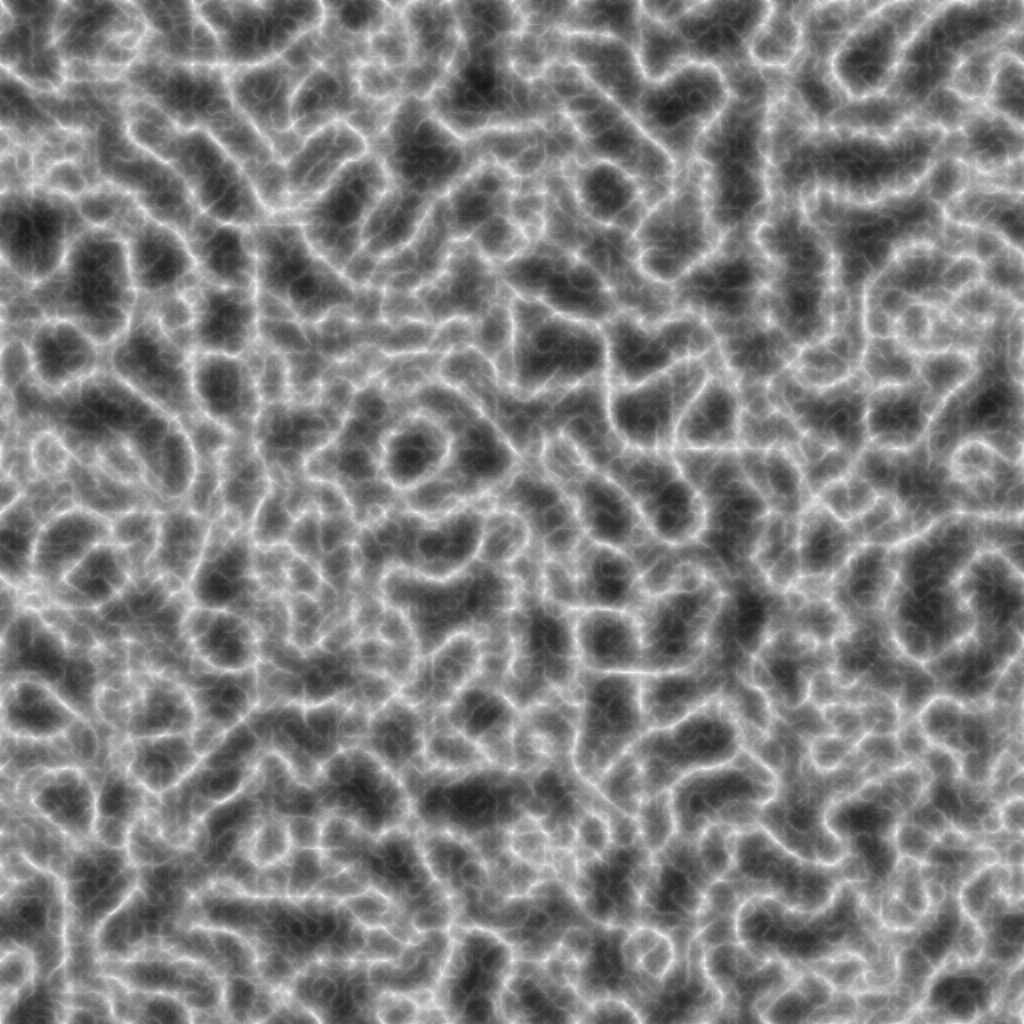
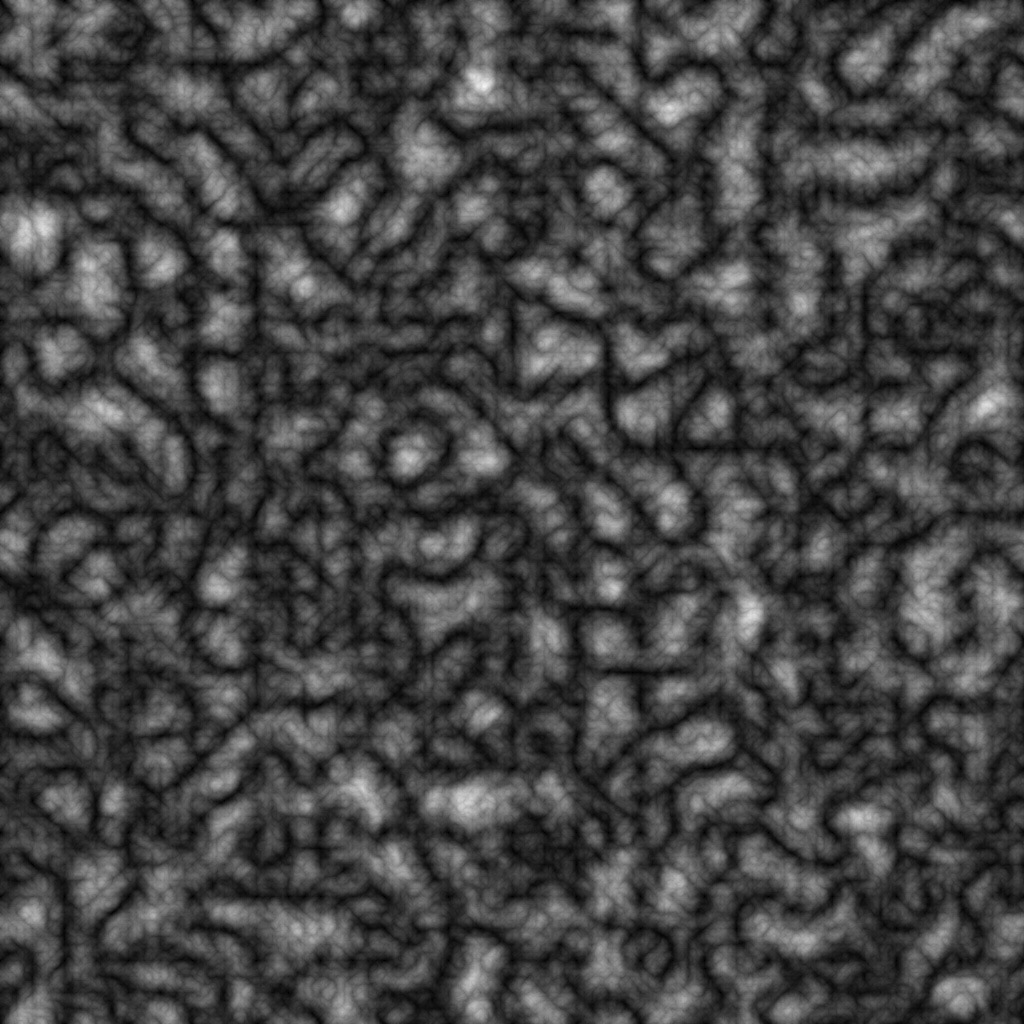
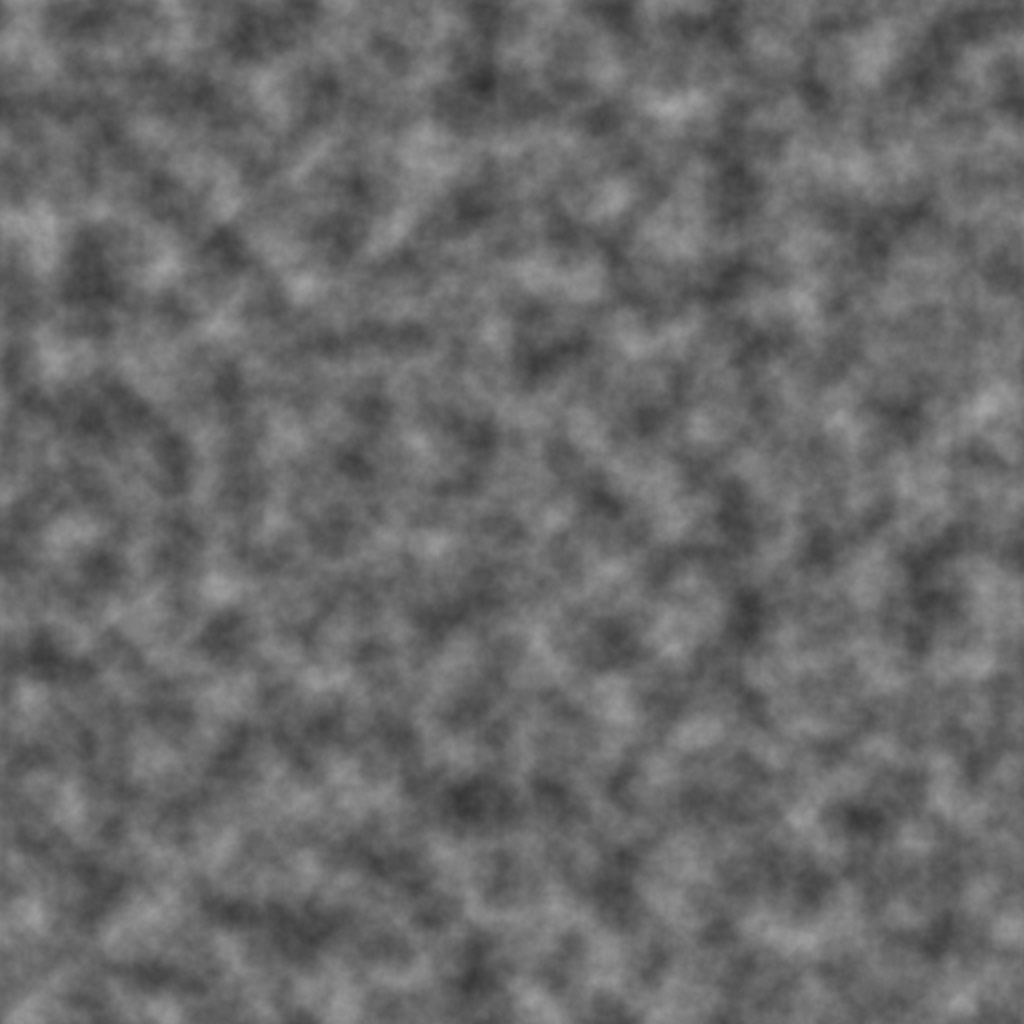
Here are some examples. It’s hard to tell that they tile without actually tiling them yourself, but they do. So there.
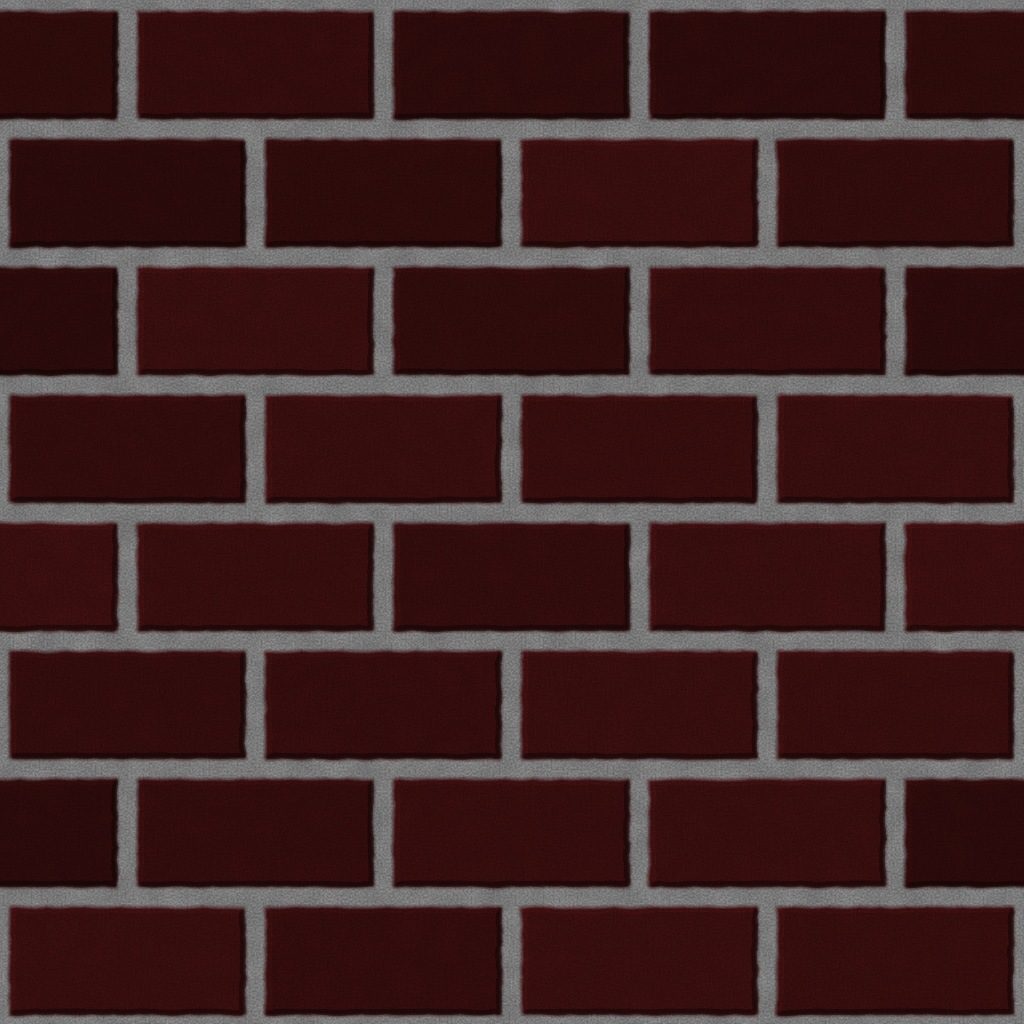
So I used it to put together a seamless version of my earlier brick texture:
Finally, I did the same basic trick with the Worley (cellular) noise.
The first screenshot is a large area repeating Worley, the second repeats at a very small level so it should be obvious how it tiles, even looking at the thumbnail:
Next up: Maybe I should actually do something useful with these things.
So I put off working on this entry long enough that it’s now two entries worth of data in one.
Too Many Instructions: Cutting Down On the Noise
So, the implementation of Improved Perlin noise from GPU Gems 2 boils down to 48 pixel shader instruction slots (9 texture, 39 arithmetic). That’s one octave of noise. What I needed, desperately, was a faster implementation of noise, where the base quality doesn’t matter (especially useful for things such as fBm and the like).
In the FIRST GPU Gems, in the chapter on Improved Perlin Noise, Ken Perlin makes a quick note about how to make a cheap approximation of perlin noise in the shader, using a volume texture. The technique is straight forward, but it took me some effort to understand exactly what was supposed to go into the volume texture.
In my case, I ended up using a 32x32x32 volume texture to simulate an 8x8x8 looping sample of perlin noise space. Essentially, when sampling this texture, divide the world position by 8, and use that as the (wrapped) texcoord into the volume.
(Discussion of multiple noise types and some screenshots after the fold)