So yesterday I got the crack filling up and running.
Tonight, I improved the routine dramatically.
The Trouble With Texcoords
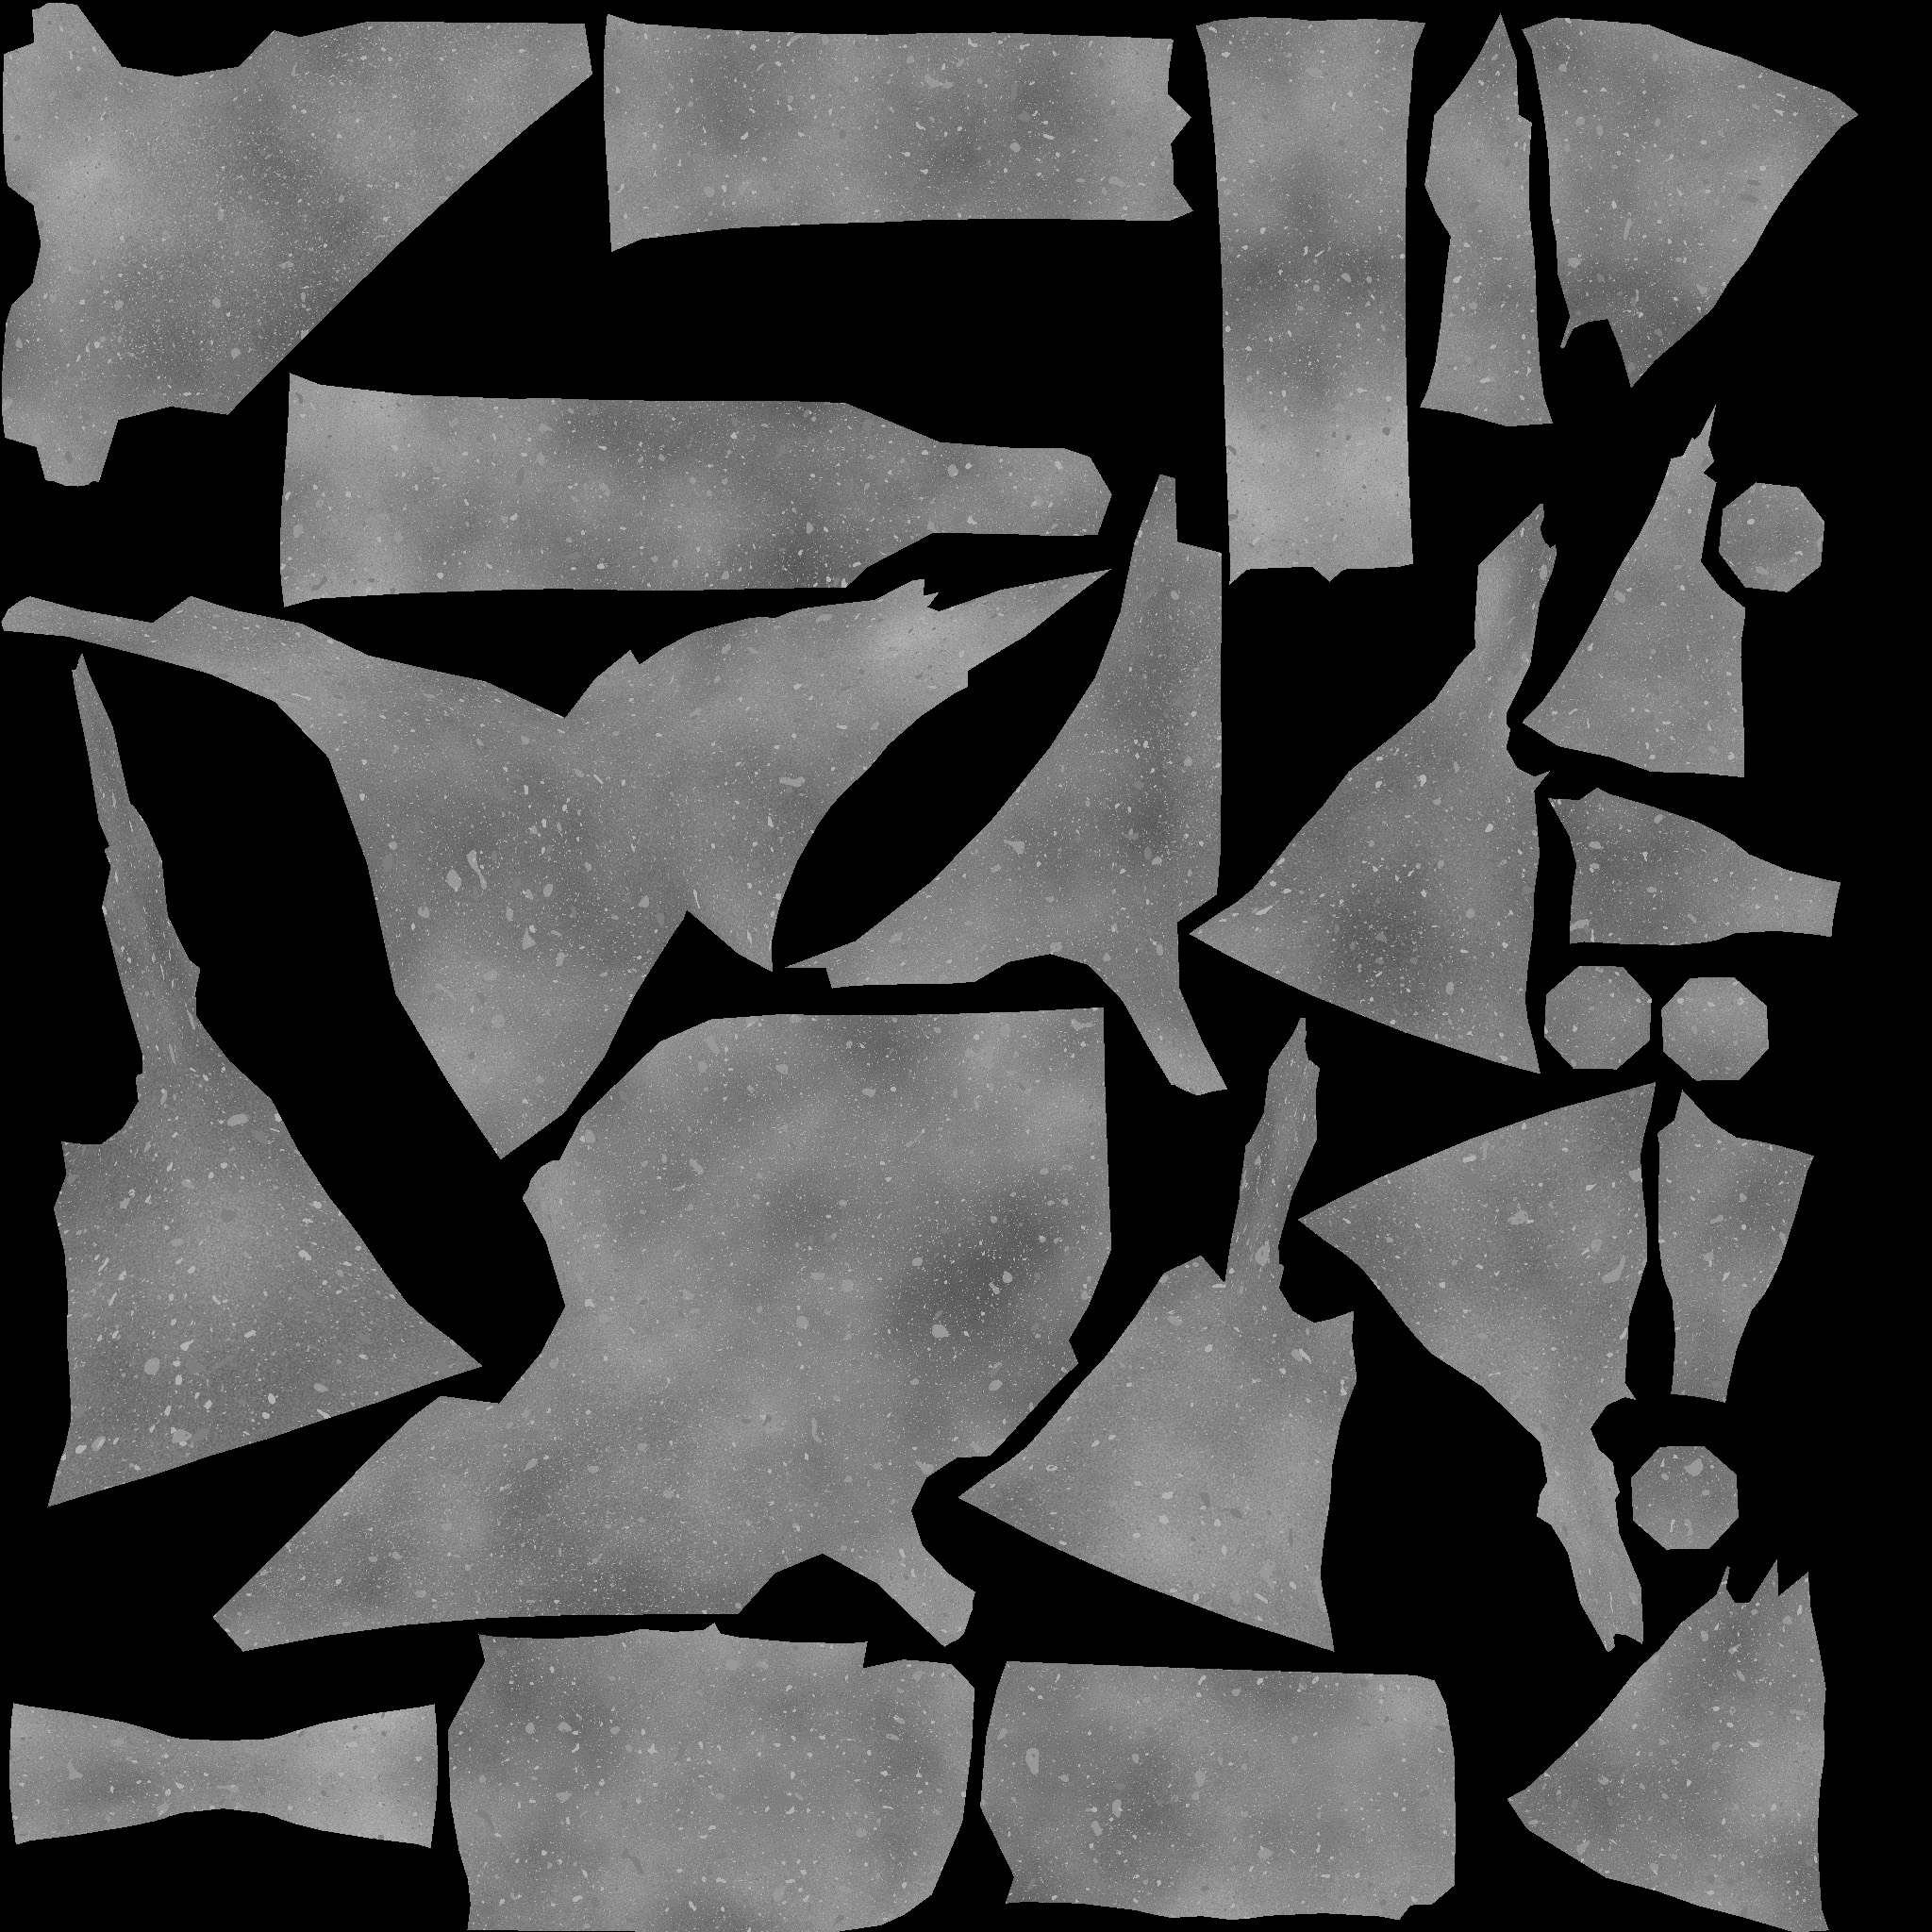
The problem was, the edge-expanding algorithm I used was detecting way more edges than it needed to. Here’s an image of a normal map generated using this (old, bad) method (I made it render ONLY the skirts, for illustration):
As you can see, way more edges through the UV charts were getting expanded than necessary. This was messing up the maps, because there were angles and edges where there didn’t need to be, and it was introducing artifacts, especially at lower mip levels.
The problem arose because each of those “extra” edges marked areas where the vertex positions were the same, but the texcoords were different. Since the original algorithm was using the vertex’s index as the identifying feature, each time there was a texcoord change meant that the indices for neighboring triangles were different, blah blah blah, you get the point.
I took it easy today, so I was barely near the computer, but I did make some awesome progress.
Last night, I was able to finally get a prototype of my texture caching setup going.
Diffusing the Procedural Situation Using Bad Puns
Right now, it’s a command-line tool that does the following:
- Loads up a mesh and UV atlases it to get unique texture coordinates for the entire mesh (similar to what you’d do for lightmapping
- Loads a D3DX effect
- Renders the mesh into the a render target, using the UV atlas texcoords as position, using the actual model’s position/normal as shader inputs to generate the noise
- Writes both the UV atlased mesh and the rendered texture to file
Simple enough. What I ended up with was as follows:
Not bad, but for two things:
- No normal mapping (per-vertex normals only)
- Cracks along the seams of the UV maps.
Both are solvable problems, and I opted to tackle the normal mapping first.
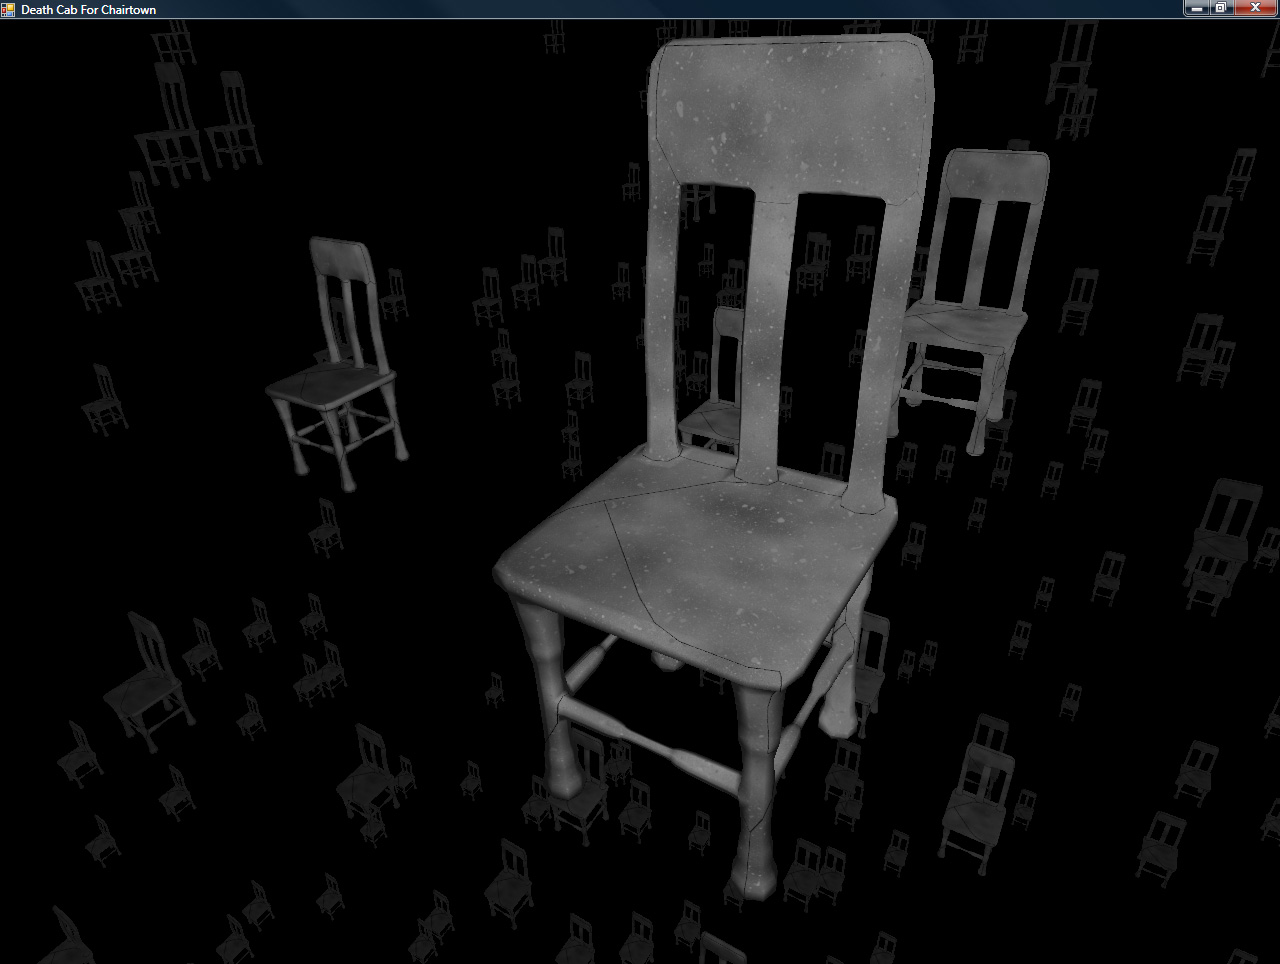
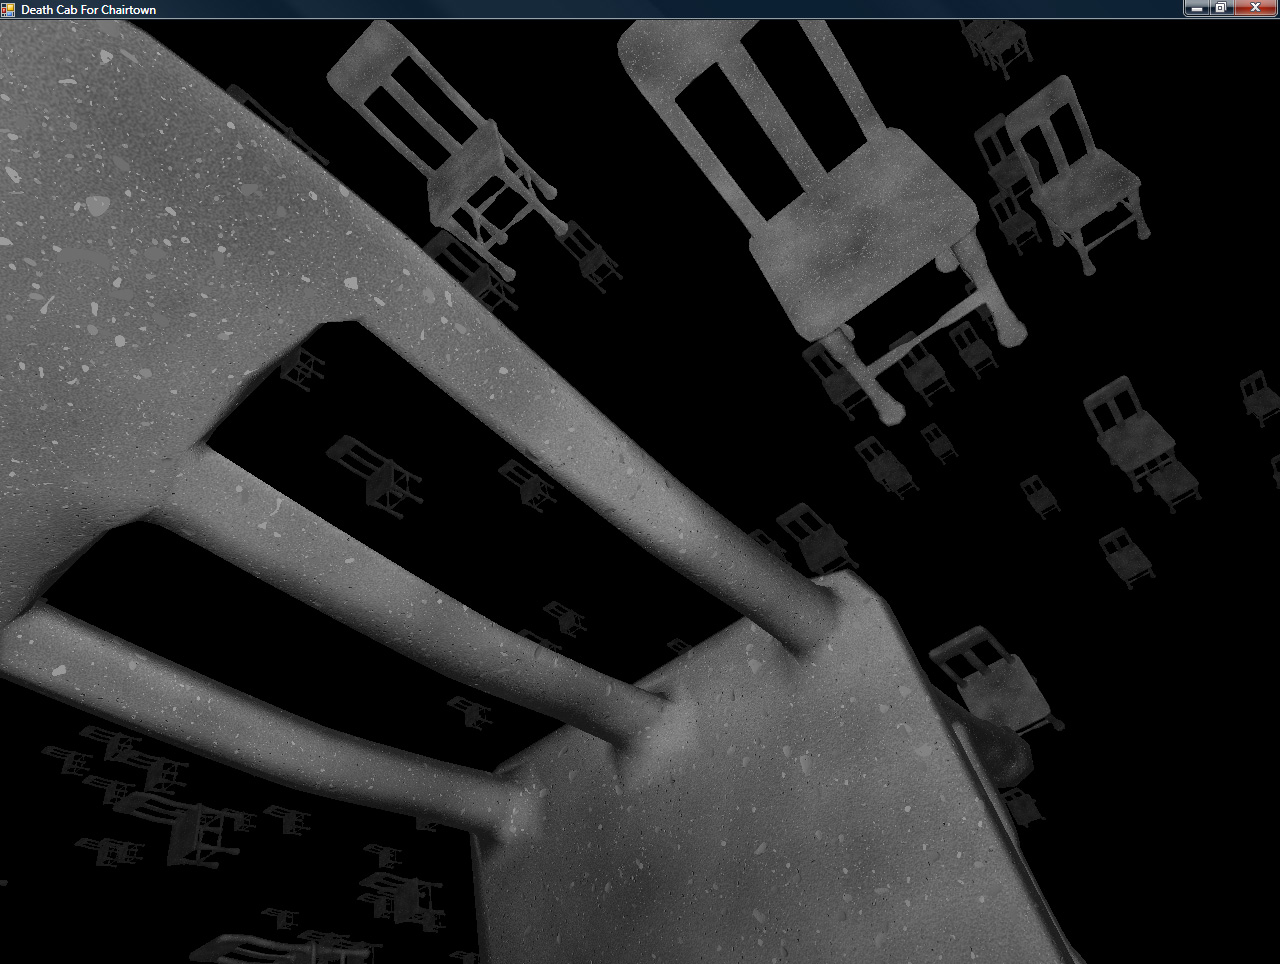
Return of the chairs!
I needed a quick test to make sure that the noise textures work well in 3D, since that’s their intended use, so I decided to run them on some chairs.
A few things to note:
- These aren’t currently being written to texture first (which is the ultimate idea) so the chairs in the background have a certain amount of…sparkle.
- Also, this means that this is SLOW. This scene brought my 8800GTX to its little silicon knees. The concrete shader is 1906 instructions (way over the sm3 guaranteed min spec of 512), 306 texture and 1600 arithmetic, so it’s a bit…intense.
- The lighting looks a little weird. I’m not sure if it’s an artifact or if it’s right and I’m just imagining things, but there you go.
That’s all!
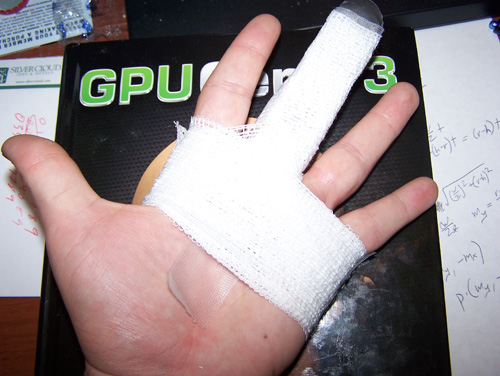
PS – broken finger: still sucks.
This’ll be a short update. I came up with a better pavement texture, and, while trying for the stones, came up with a nice method of star generation, so I refined that as well. Hooray for happy accidents!
The stars one really looks best zoomed in (the thumbnail looks kinda lame), but I like them both!
All 100% pixel-shader generated. Both of these use pure improved perlin noise modifications to generate their look…no custom patterns like the brick and tile textures from earlier.
If you want to play around with the generator, the binary, code, and shaders are in a zip in the previous post. Have at it and let me know if you make anything awesome!
The Most Communicative Of Fingers
This entry was going to be a bit longer, but:
Yeah. It’s the classic tale of “boy meets girl, girl rejects boy,” except you replace “boy” with “finger,” “girl” with “wall,” and “rejects” with “breaks.”
Sometimes playing wallyball can be considered dangerous.
Procedural Textures
As part of the framework for the game I am currently writing, I’m going to have as much texture data as possible be procedural and cached in on the fly. There are a few reasons for this choice (many of which should be obvious):
- Less disk usage – very useful if I hit my target of, oh, say, a certain game console
- Non-repeating textures – textures don’t have to tile. I can keep caching in new ones.
- Seriously, I suck at texture art – This way, the computer does it for me!
I’m still working on the method, but here are a few examples:
These are all generated on-GPU, using ps_3_0 shaders. The noise implementation comes straight (thank you, copy-and-paste) from GPU Gems 2, which is an awesome book.
The idea is that objects (especially static world objects) will have unwrapped UV coordinates (like you’d use for lightmaps). To generate the textures onto the objects, I’ll do the following:
- Create a texture that is the requisite size (or pull it out of a pool, which is more likely
- Render the objects into the texture, using the UV coordinates as the position (scaled from [0,1] to [-1,1] of course).
- Pass the position and/or normal to the pixel shader, use it to generate the texture data
- Repeat for as many textures as the object needs (some combination of diffuse color, normal, height, glossiness, etc).
Should be pretty easy. Obviously, there are some patterns that are ridiculously difficult or even maybe impossible to generate efficiently on the GPU, so I’ll probably still use some pre-made texturemaps. But as much as I possibly can do on the GPU, I will. The main gotcha will be keeping the amount of texture info that needs to be generated to a minimum, so there aren’t any render stalls. That’s more of a level design/art problem though (which, because this is being developed lone-wolf, is also my problem).
For the last few days I’ve been working at learning D3D10 and using it to whip up a quick prototype of doing fully-deferred shading while using MSAA (multisample antialiasing). If you’re not sure what deferred shading is, but are curious, check out the deferred shading paper at NVIDIA’s developer site. Here are my notes on the experience.
On D3D10
D3D10 is very, very well-designed. It has some interesting new bits of functionality, but the way that the API has been rearranged is really quite nice, though it does tend to produce MUCH more verbose code.
One thing in particular that is very different is the buffer structure. rather than creating a buffer of a specific type (IDirectDrawVertexBuffer9, etc), you simply create a generic buffer (ID3D10Buffer). When you create a buffer, you specify the flags with which it can be bound (as a vertex buffer, index buffer, render target, constant buffer [another new feature], etc).
A few things to talk about this entry (no screenshots, but there is an MP3 later):
Cube Farm
Cube farm is declared complete. I decided not to add any polish to it, because it was simply a test of my game development framework. It gave me a large list of things that I need to work on (better UI layout control, ability to put 3D objects into the UI, menuing systems, better input setup, etc) before moving on to the next game. Which brings us to…
Next Project
In keeping with my Konami-inspired game development theme, the next game that I’m planning will be a side-scrolling space shoot-em-up similar to Gradius.
The plan, however, is to have all of the entities and backgrounds be full 3D and make use of some of the higher-level features of my framework (some of which are actually implemented). These features include (but are not limited to):
- Procedurally-generated textures (on-the-fly, cached in, no tiling)
- instancing
- Multi-core support
- Procedural geometry
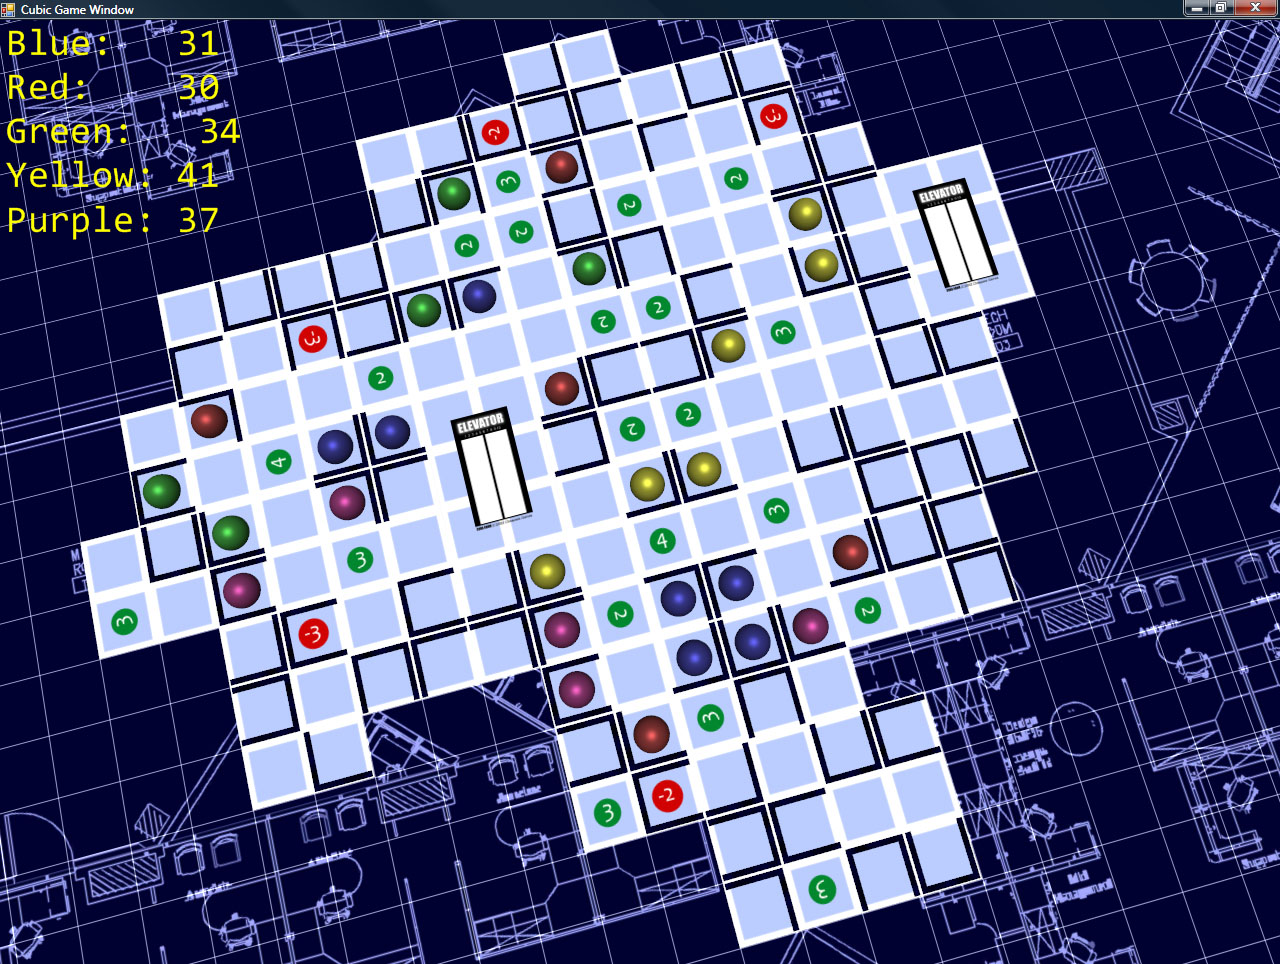
Well, I finally have all of the gameplay working. It supports 2-5 players, and is quite enjoyable.
I need to add a, you know…menu, stuff like that. Also, I would love for it to play networked, since it does kinda require the cards in one’s hand be a secret to the other players.
But, the gameplay logic is all done, the last of the (known) bugs is squashed, and it’s time to go play Super Paper Mario!
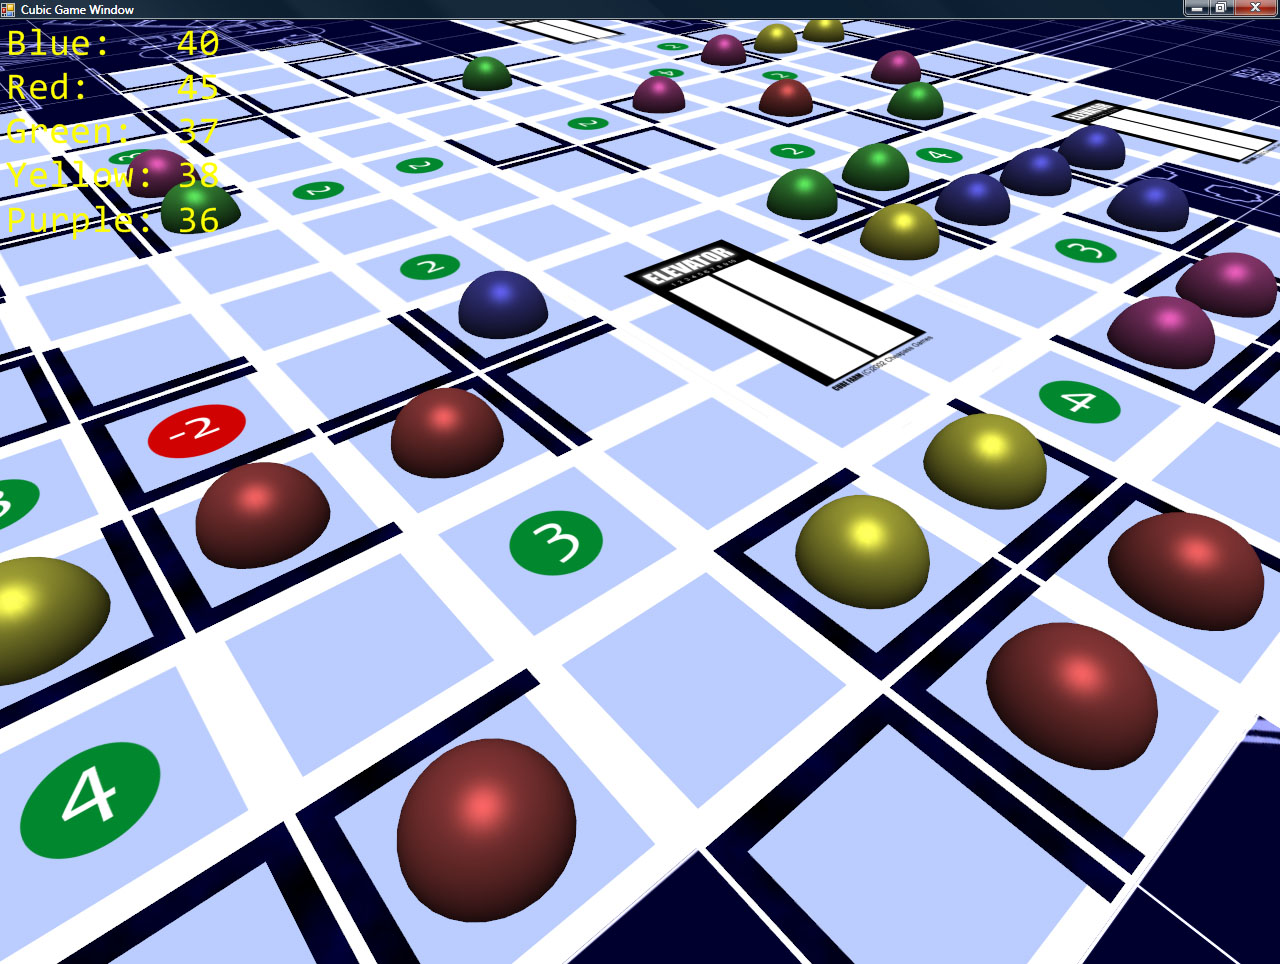
BEHOLD MY RIDICULOUSLY UGLY SPECULAR GAME PIECES!
Cube Farm is coming along nicely – half of the gameplay is done.
In the game, for every turn, you place one card, and fill one cubicle (if possible). I have the card-placing portion done.
It involves filling in holes that are too small for a card to fit in as walkable floor space (for the purposes of determining if workers can reach the elevator). Any hole that has room for a card must remain open.
So now there’s a hand of cards to choose from, and you can select one and place it in a legal spot. Also done (though not visible), the code to determine which areas can reach the elevator and to determine how many points a given cubicle is worth is also in. Next up: worker placement!
More to do, more to do!
The first test of my scripting setup is going rather well. And it’s completely chairless.
I have been working on converting over Cheapass Games’ “Cube Farm” into a digital format (which, sad to say, I’m never going to give out to anyone, what with copyright issues and the like. This is just my own internal test to make sure that I can do it), and it’s going rather well.
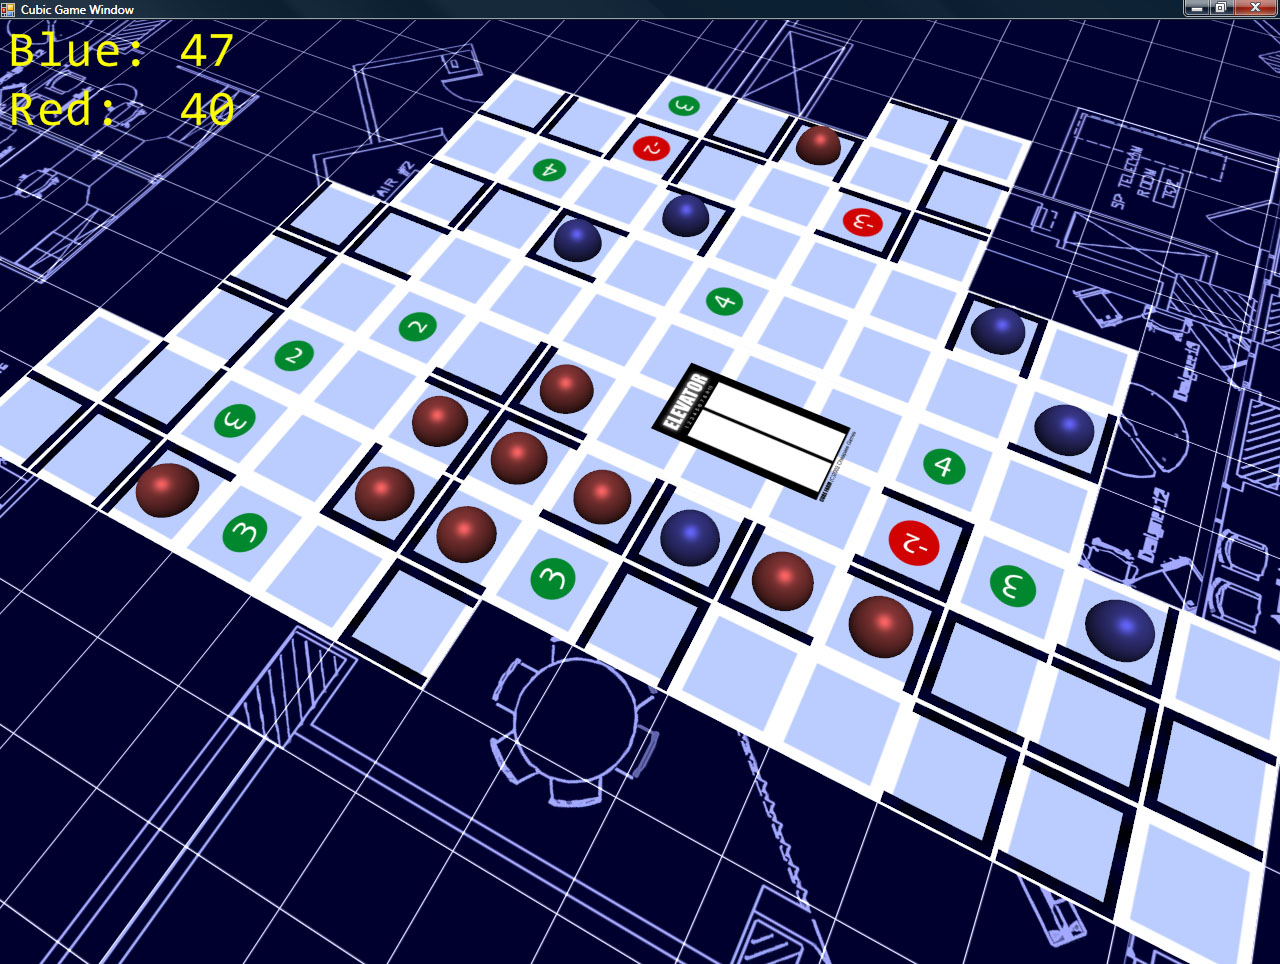
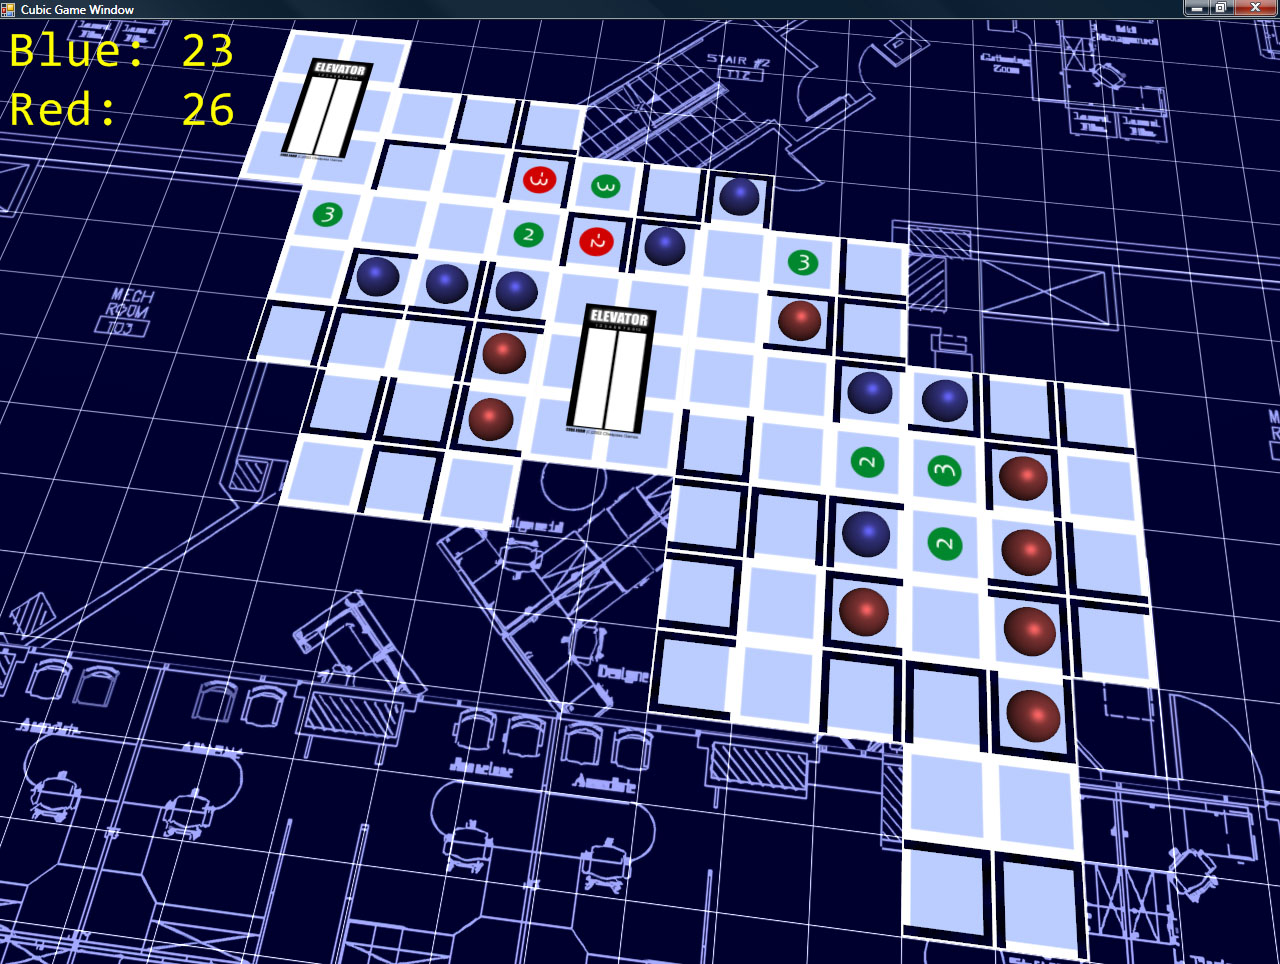
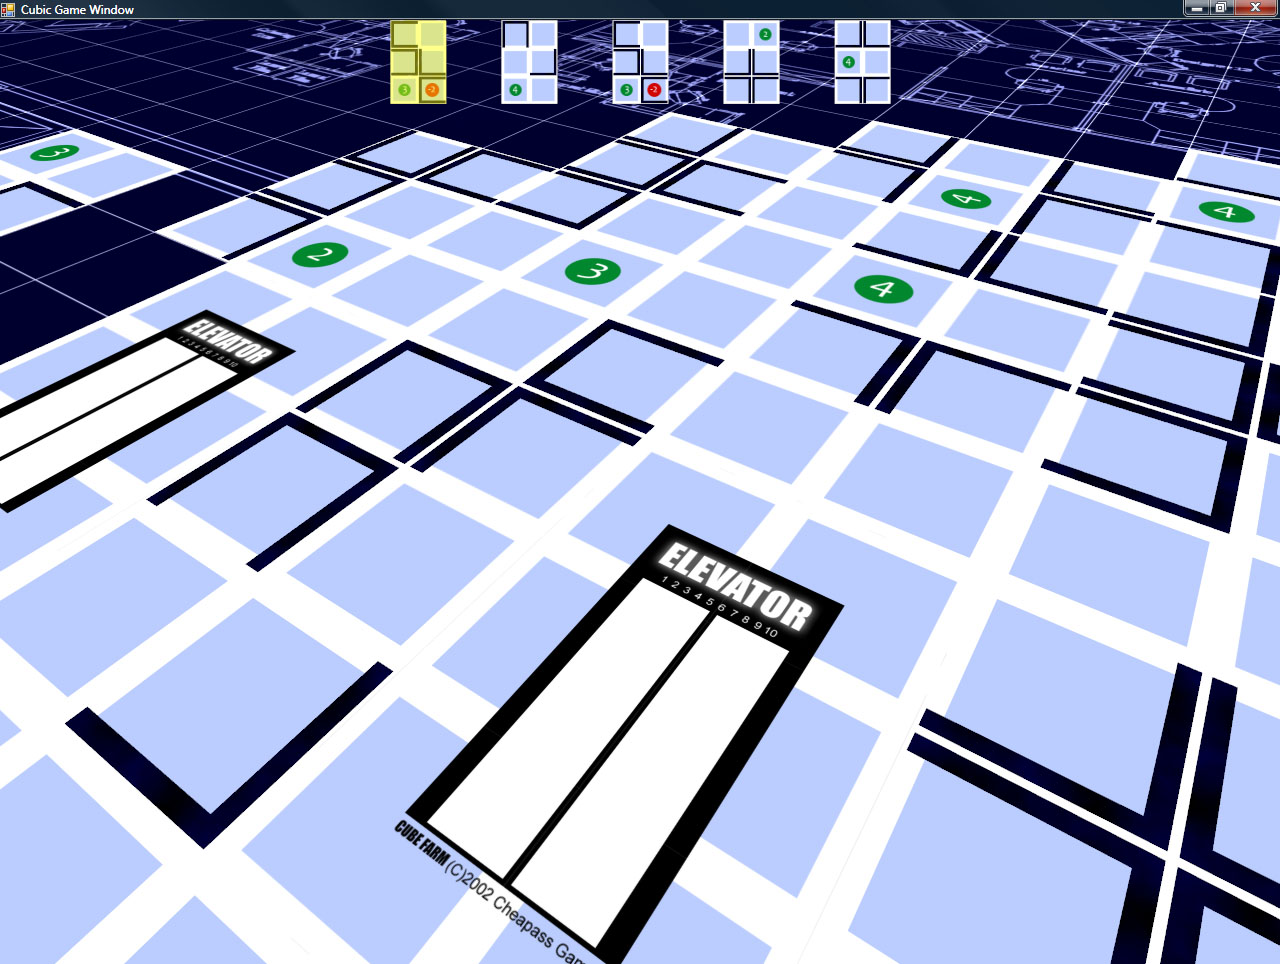
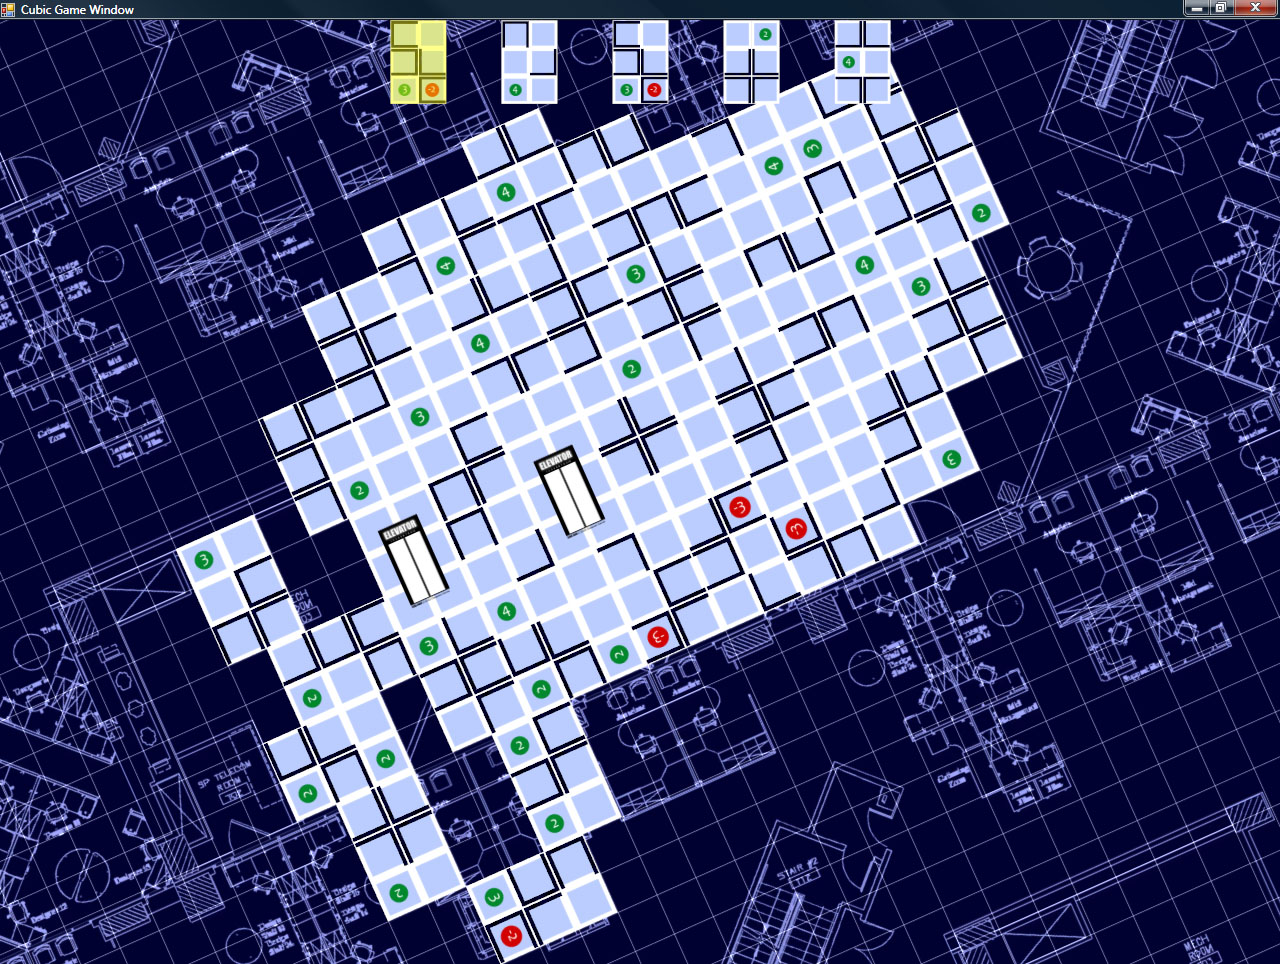
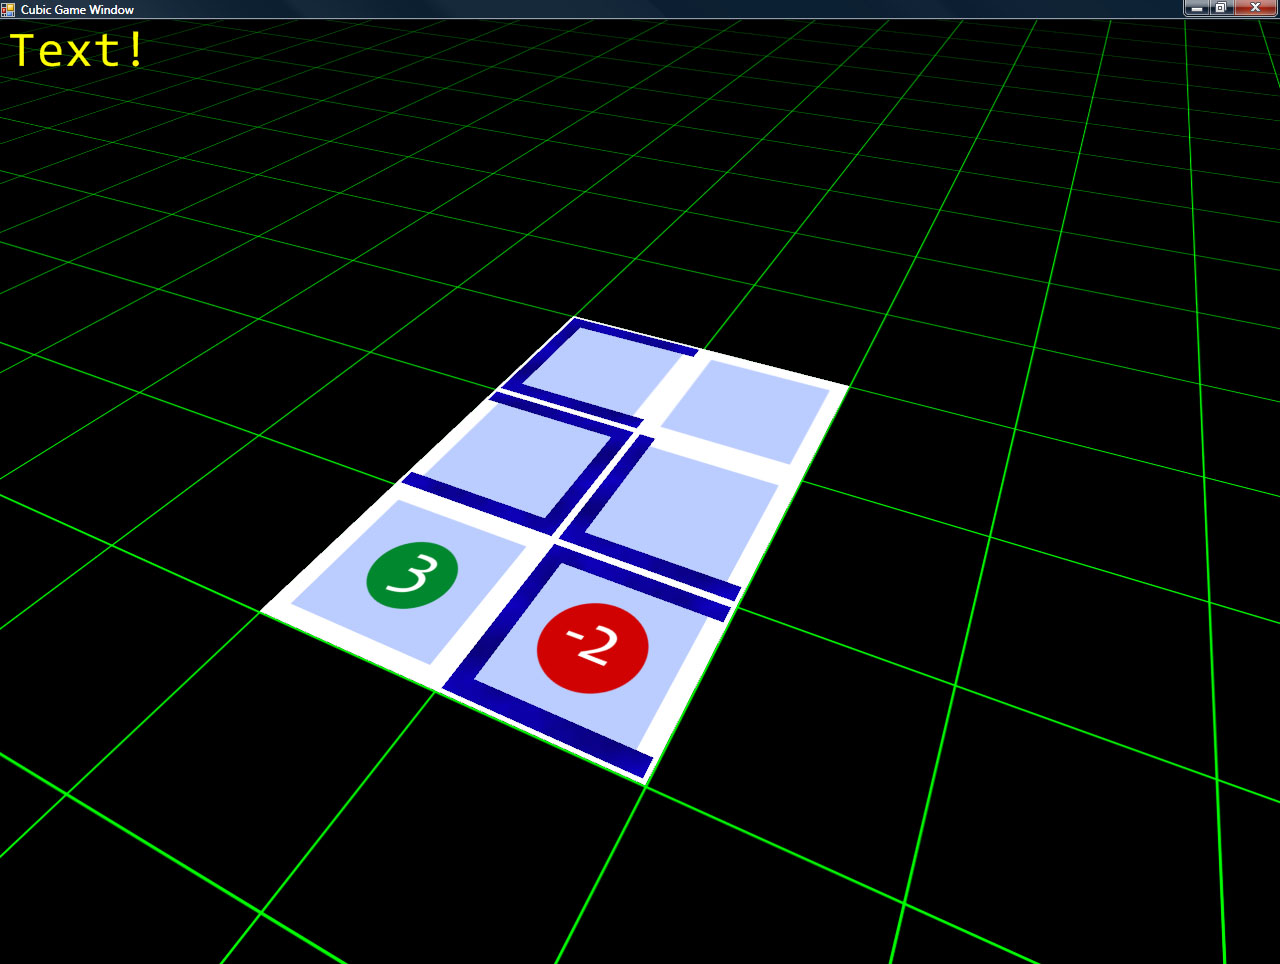
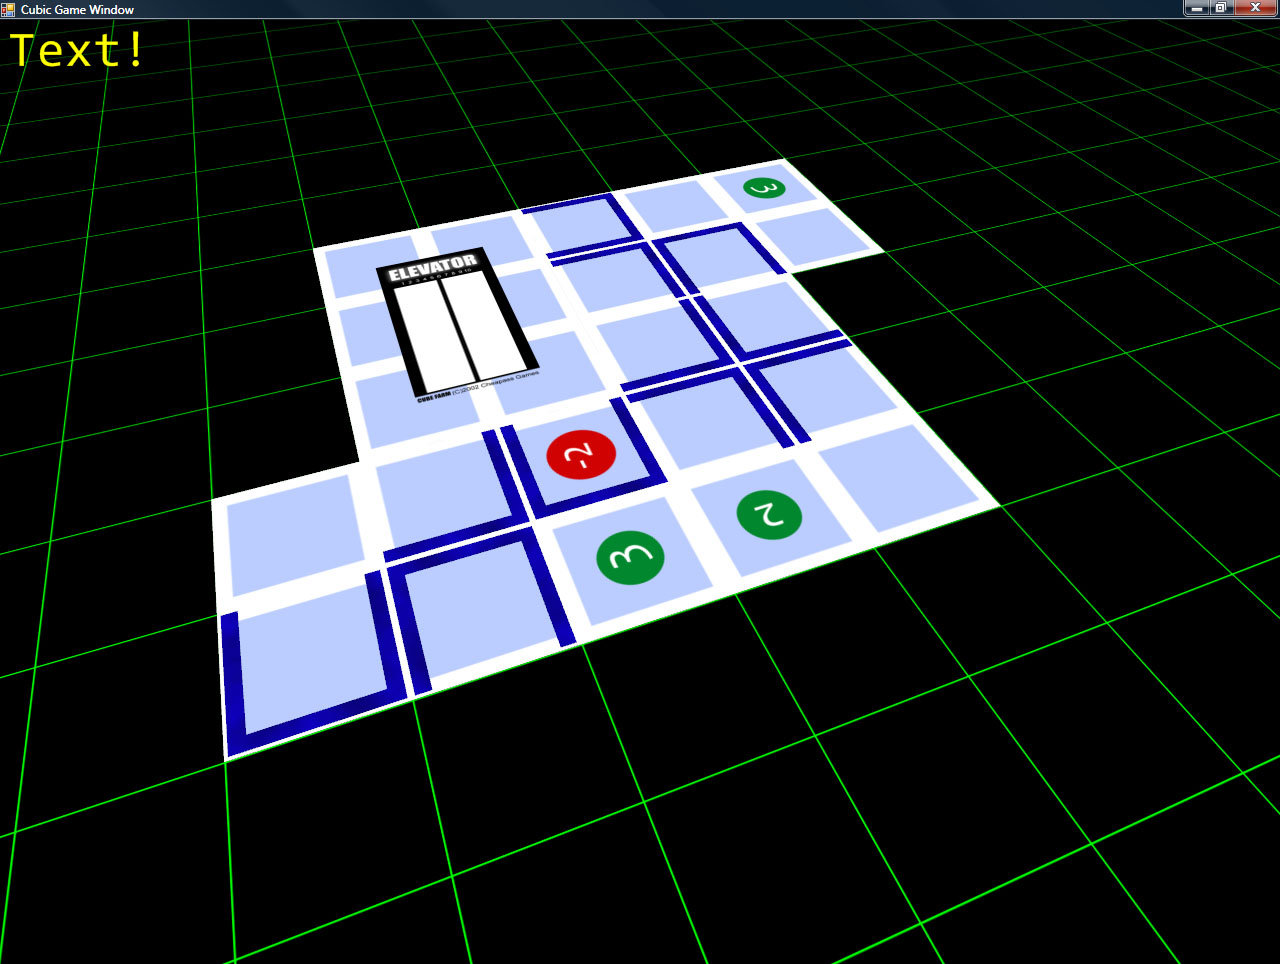
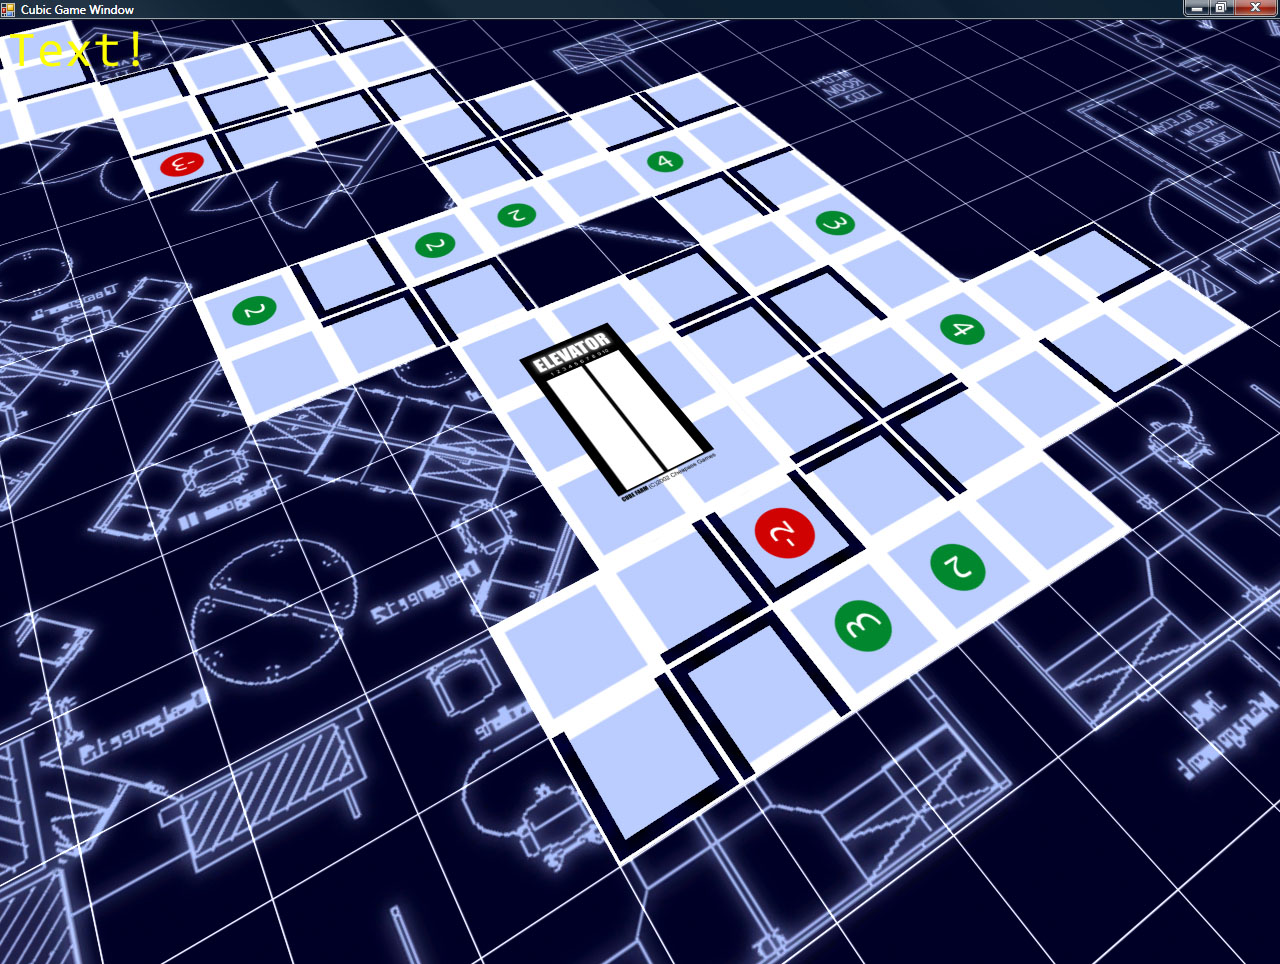
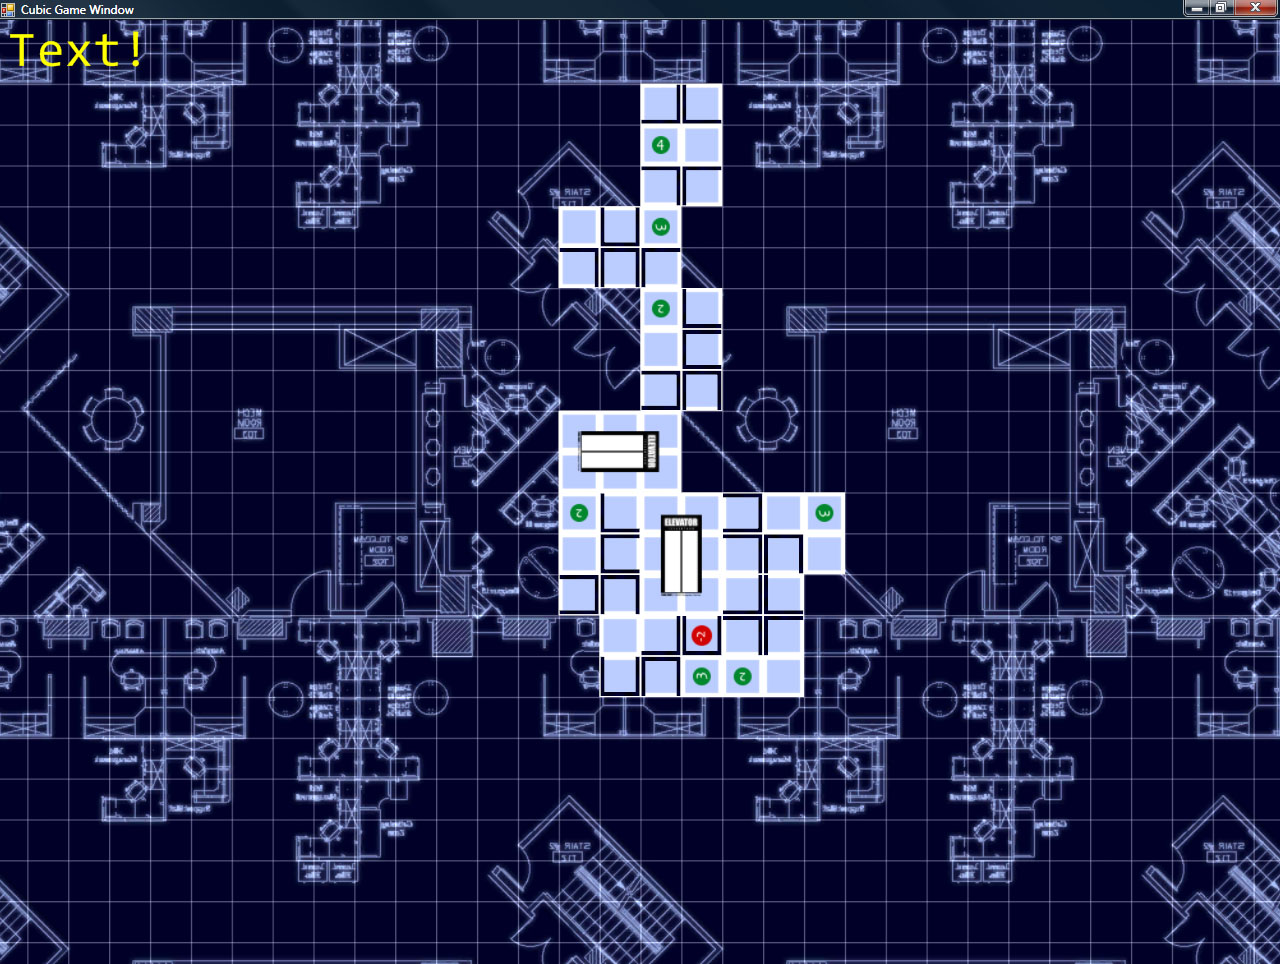
While I don’t have any of the scoring working yet, what I *DO* have is very promising. Namely, I have the cards displaying, and you can place them in the world.
Also, I recently added a blueprint-style background which, while it’s a bit higher contrast than I’d like, is a bit more interesting (and fitting) than the original green-on-black grid.
Some screenshots!
The camera control is simple (and intuitive): hold down the right mouse button, and you can drag the grid around (to move the camera). Holding middle mouse lets you move the mouse left/right to spin the camera around the look-at point, and up/down zooms in and out (and also adjust the angle at which you’re viewing the board).
So far, so good. Next up: Actual gameplay!
Crazy!